Checkout Widget
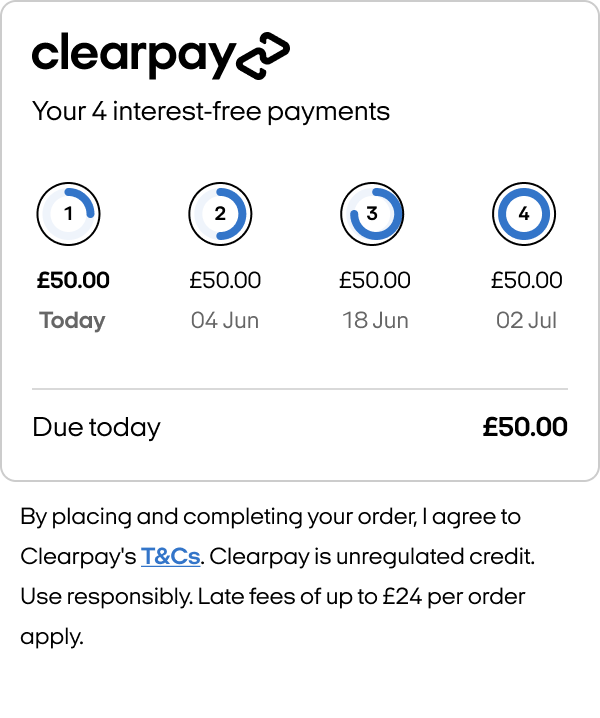
The checkout widget enables you to display the Clearpay payment schedule within your website. There are two versions of the Checkout widget, the Connected widget and the Unconnected widget.
Connected widget
This version appears on your checkout page when an Clearpay checkout flow is complete. You must display this widget for the Deferred Shipping flow. This is because the order value is updated after the Clearpay Express checkout is complete. The Connected widget serves several purposes, it:
- Ensures the customer has seen and agreed to an accurate payment schedule
- Verifies that the final amount captured matches what the customer has seen displayed
- Provides information to you, the merchant, such as the first payment amount for display purposes
- Informs you of any barriers to purchase, for instance the customer has exceeded their payment limit with Clearpay
For more detailed information, see the Connected Widget section below.
Unconnected widget
This version appears in your checkout on the page where Afterpay appears as an available payment method. This is shown before a customer launches Afterpay checkout and displays the estimated payment schedule.
For more detailed information, see the Unconnected Widget section below.
Rendering the checkout widget
The widget can be rendered into a target container on your page using Javascript. It is responsive and will fit any container with a minimum width of 300 pixels
Connected Widget
If you have any order amount changes post checkout, the widget shown should be the Connected Widget. This widget informs the customer of any updates or changes to their payment schedule post checkout.

The connected widget requires:
-
A token - this is the Clearpay Checkout token; the payment schedule is retrieved and rendered from this token
-
An amount - this should be the positive initial amount of the total order post checkout. The Clearpay widget updates this amount
<html>
 <body>
   <div id="afterpay-widget-container"></div>
   <script>
     // Ensure this function is defined before loading afterpay.js
     function createAfterpayWidget () {
       window.afterpayWidget = new AfterPay.Widgets.PaymentSchedule({
         token: 'YOUR_TOKEN', // required
         amount: { amount: "123.45", currency: "GBP" }, // required, amount of the total order post checkout, must be a positive value
         target: '#afterpay-widget-container',
         locale: 'en-AU',
         onReady: function (event) {
           // Fires when the widget is ready to accept updates.
           // An initial call to "update" must be made here.
         },
         onChange: function (event) {
           // Fires after each update and on any other state changes.
           // See "Getting the widget's state" for more details.
         },
         onError: function (event) {
           // See "Handling widget errors" for more details.
         },
       })
     }
   </script>
   <script src="https://portal.sandbox.afterpay.com/afterpay.js" async onload="createAfterpayWidget()">
   </script>
 </body>
</html>
Note
Only show the connected widget on. your site when a customer has successfully completed the Clearpay Checkout. The checkout onComplete status should be SUCCESS.
Unconnected Widget
You can display a payment schedule before the checkout is launched - this is before a Clearpay order is created. This payment schedule is an estimate, with approximate dates based on the initial order amount before an order is created in Clearpay Checkout.
The unconnected widget needs a defined positive amount. The widget uses this positive amount to calculate the payment schedule. See the amount: line in the code example below:
<html>
 <body>
   <div id="afterpay-widget-container"></div>
   <script>
     // Ensure this function is defined before loading afterpay.js
     function createAfterpayWidget () {
       window.afterpayWidget = new AfterPay.Widgets.PaymentSchedule({
         amount: { amount: "123.45", currency: "GBP" }, // required, must be a positive value

         target: '#afterpay-widget-container',
         locale: 'en-UK',
         onReady: function (event) {
           // Fires when the widget is ready to accept updates.
           // An initial call to "update" must be made here.
         },
         onChange: function (event) {
           // Fires after each update and on any other state changes.
           // See "Getting the widget's state" for more details.
         },
         onError: function (event) {
           // See "Handling widget errors" for more details.
         },
       })
     }
   </script>
   <script src="https://portal.sandbox.afterpay.com/afterpay.js" async onload="createAfterpayWidget()">
   </script>
 </body>
</html>
Updating the Order Total
Any time the order total changes (e.g. a change of shipping option, promo code, or cart contents), the widget must be notified of the new amount. The update function must not be called before the widget's onReady callback has activated.
Capturing Payment (when using the Afterpay Checkout Widget)
In addition to the required amount field, you must provide some extra properties to the payload. These are:
isCheckoutAdjusted: the state to indicate if changes have been made since the initial order creationitems- The list of order items if it has changedshipping- The shipping address if it has changedpaymentScheduleChecksumThe latest paymentScheduleChecksum retrieved from your widget’sonChangecall (see Getting the widget’s state).
These extra properties help Clearpay verify the integrity between the final order amount and payment schedule. We check it matches what has been calculated from the corresponding order details sent to the capture.
curl --request POST
  --url <https://api-sandbox.afterpay.com/v2/payments/capture>
  --header 'accept: application/json'
  --header 'content-type: application/json'
  --data '{"token":"YOUR_TOKEN", "amount":{"amount":"10.00", “currency”: “GBP”},  "isCheckoutAdjusted":true, "shipping":{"name":"Joe Customer","line1":"123 Fake Street", "postcode":"3000", "region":"VIC", "countryCode":"AU"}, "items":[{"price":{"amount":"10.00", "currency":"AUD"}, "name":"item1", "quantity":1}], "paymentScheduleChecksum":"YOUR_PAYMENT_SCHEDULE_CHECKSUM" }'
If for any reason it is found that the final amount does not match the calculated amount (including shipping and taxes) or the paymentScheduleChecksum does not match the calculated payment schedule, the request is rejected.
The data payload properties table
| Property | Type | Description |
|---|---|---|
token | String (required) | The token returned in the Create Checkout request. |
amount | Money (required) | Amount to be checked against the amount including shipping and taxes. If the amounts do not match, the request is rejected. |
merchantReference | String | The Order ID or reference of this order. |
isCheckoutAdjusted | Boolean | Whether there have been changes to the order since the initial order creation. |
paymentScheduleChecksum | String | A unique value representing the payment schedule. Provide this if there have been changes since the initial order creation. |
items | Item | An array of order items that have been updated. Provide this array if it has changed since the initial order creation. |
shipping | Contact | The shipping address for this order. Provide this address if it has changed since the initial order creation. |
Note
For Cross Border Trade orders, the capture amount must be in the same currency as the checkout.
For example, imagine you are a British merchant displaying a 100 GBP order in EUR for an French customer on your site. When you start Clearpay checkout, if you send us the order amount in GBP (e.g. 100 GBP), then at capture the final order amount must also be in GBP.
Likewise, if you initiate checkout by sending us the order amount in EUR post currency conversion on your side (e.g. 120 EUR), ensure that the capture amount is also sent in EUR.
The currency must be consistent throughout the entire checkout flow.
Getting the Widget’s State
After each update and any other state changes, the onChange callback is called with an HTML event argument. At this point the widget’s state is retrieved from event.data, which has the properties in the table:
| Property | Type | Description |
|---|---|---|
isValid | Boolean | Whether the order is okay to proceed. If false, do not complete the order. |
amountDueToday | Money | The amount owing today. Displaying this value in your Order Summary will give your customer more confidence when they place their order. amountDueToday.format() returns a formatted string that you can easily display in your UI. |
paymentScheduleChecksum | String | A unique value represents the payment schedule that must be provided when capturing the order. |
error | Error | The current error state, if any. |
We recommend using the isValid and amountDueToday states to update your checkout UI as described above, and persisting the paymentScheduleChecksum on your backend to be used when capturing. The widget itself informs customers what has gone wrong when isValid is false.
In addition to the onChange callback, these states are exposed as properties on the widget and can be accessed directly at any time, for example:
var isValid = afterpayWidget.isValid
var amountDueToday = afterpayWidget.amountDueToday
var paymentScheduleChecksum = afterpayWidget.paymentScheduleChecksum
var error = afterpayWidget.error
Handling Widget Errors
| Property | Type | Description |
|---|---|---|
| error | Error | Representing the current error state, if any. |
Any errors on the widget trigger the onError callback with an HTML event (see table below), and have a false isValid status.
If the onChange callback is activated and fails due to an error, the onError event is also triggered for convenience. In this case, a response to onError events is not needed, provided all onChange events are handled.
onError event.data properties table
| Property | Type | Description |
|---|---|---|
isValid | Boolean | Whether the order is okay to proceed. For the onError event this will be false so prevent the order from completing. |
type | String | For an onError event, the type is set to the value of error. |
error | Error | Represents the current error state. |
Note
If you are getting errors during the rendering of the widget, open the browser console. The console may display some additional error loggings to help identify common integration misconfigurations.
Style Options for the Checkout Widget
There is an optional style attribute that you can use to toggle particular features on or off in the widget. The current styles are:
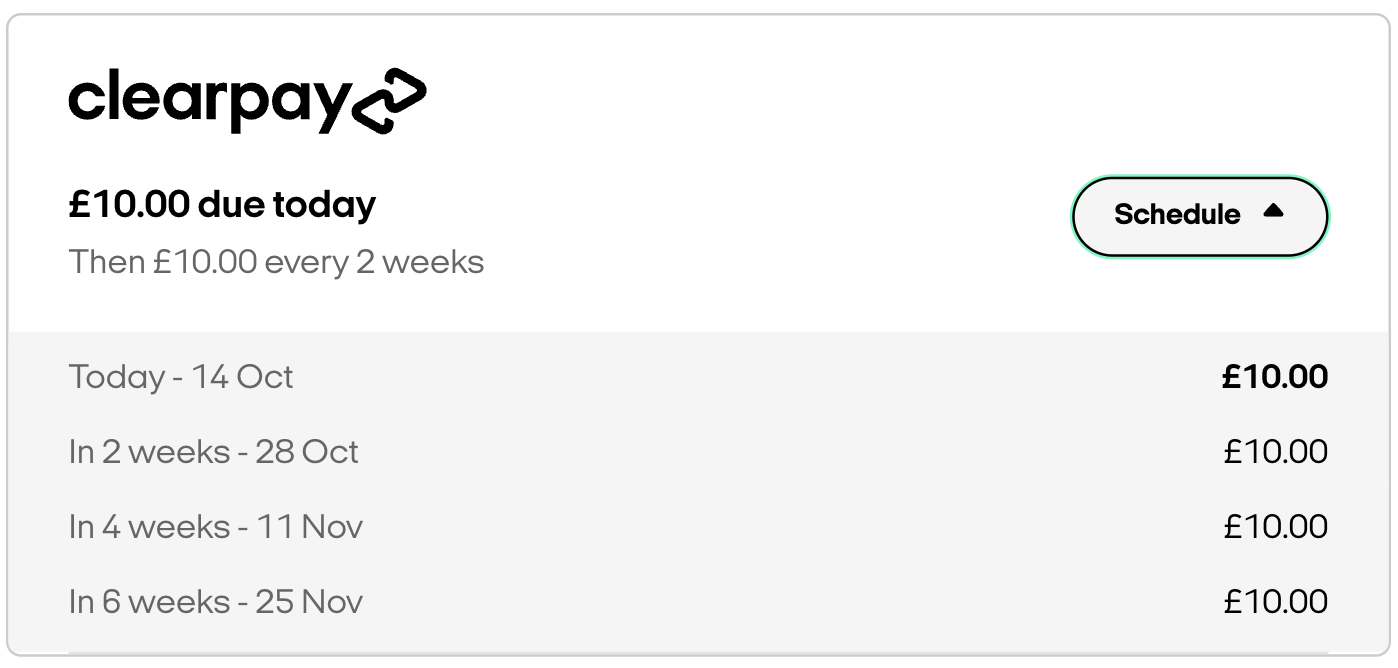
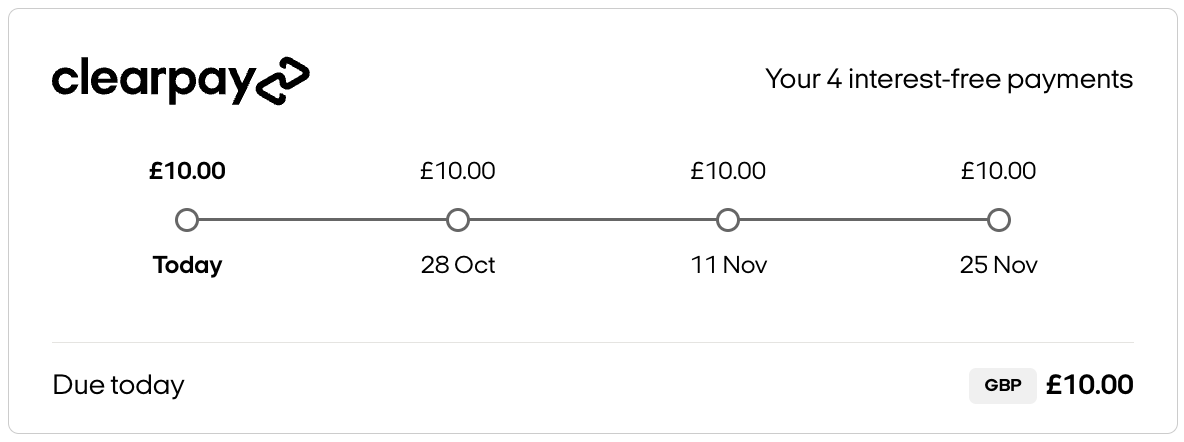
border- If false, the border around the widget container is removed. Default: trueheading- If false, the heading “Your 4 interest-free payments” is removed. Default: truelogo- If false, the Afterpay logo is removed. Default: truetheme(string) - allows you to customize the look of the widget. Following themes are available ‘CLASSIC’ | ‘TIMELINE’ | ‘COLLAPSIBLE’ | ‘MODAL’. Default: ‘CLASSIC’
Here are some theme examples:
Collapsible
Collapsible - extended

When the collapsible theme is collapsed, only the white part of the popup is visible.
Timeline

Code Example
window.afterpayWidget = new AfterPay.Widgets.PaymentSchedule({
  // ...
    style: {
        border: true,
        heading: true,
        logo: true,
        theme: ‘TIMELINE’, // ‘COLLAPSIBLE’‘MODAL’
   }
  // ...
});
Note
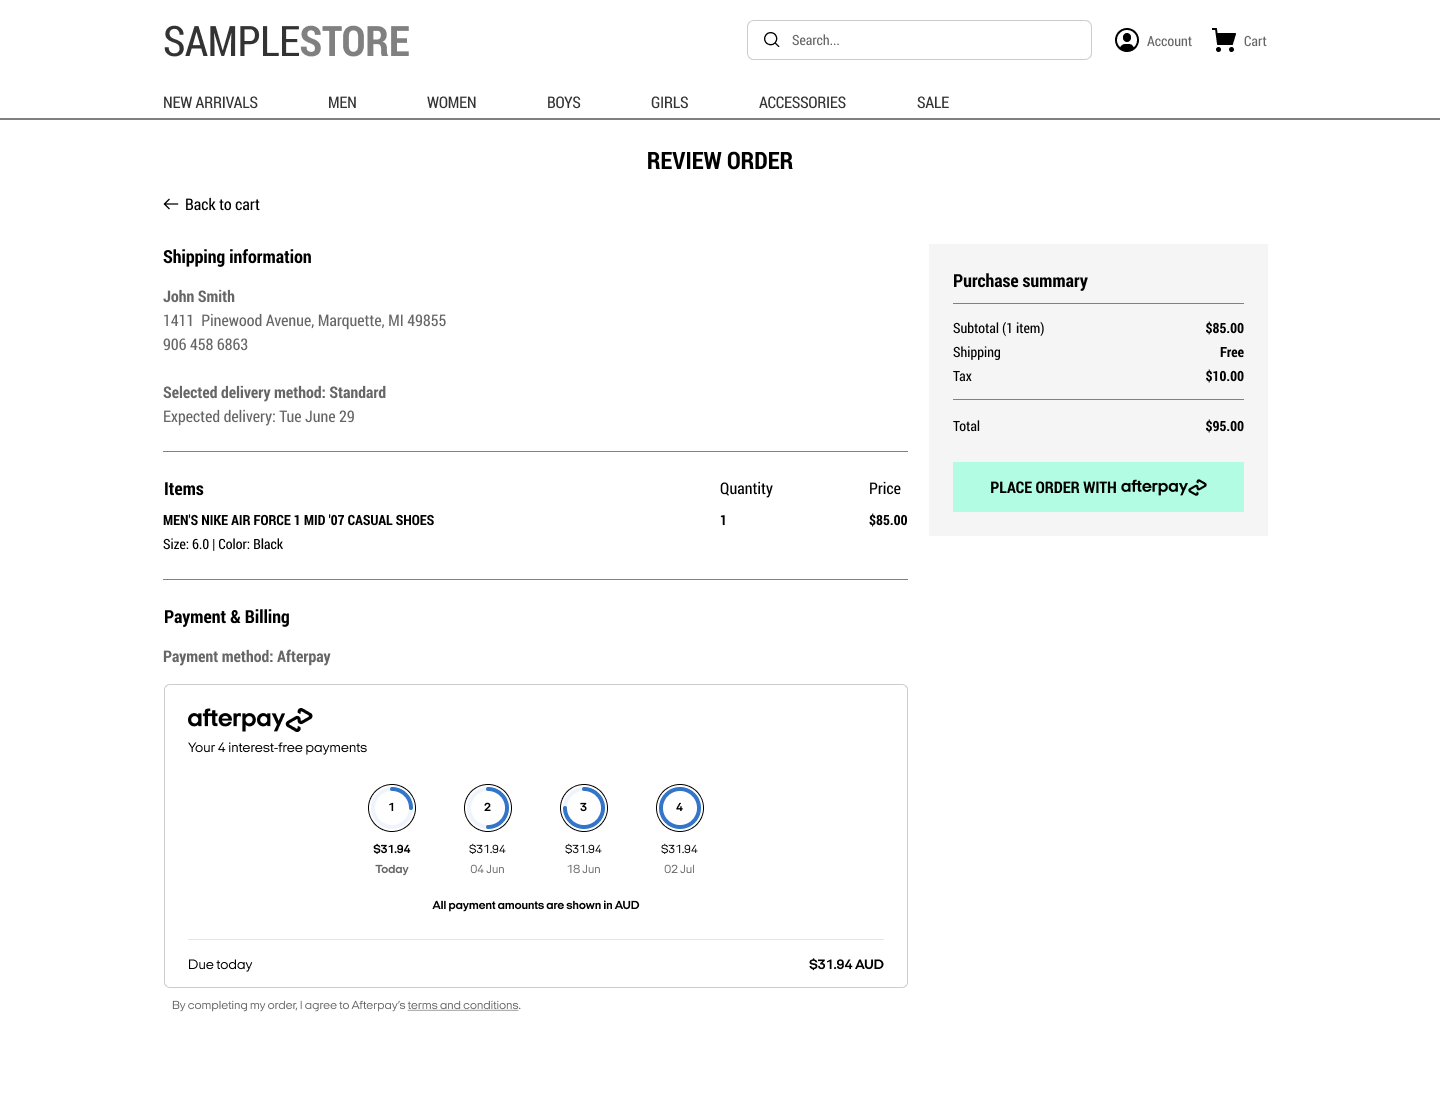
For Cross Border Trade orders, the checkout widget displays the payment schedule and Due today amounts in the customer’s currency. This currency may be different from the presentment currency on your site. See picture below, which is an Afterpay screen but shows the principle:

Updated over 1 year ago