Clearpay Gateway Configuration
Follow the below steps to configure the Clearpay payment gateway on your WooCommerce website.
Configuration
Completing the below steps will enable and display Clearpay as a Payment Method.
Note: If the ‘Clearpay Gateway Installation’ steps have just been completed, please skip to Step 3.
- Navigate to: WordPress Admin Dashboard
- Navigate to: Plugins > Installed Plugins
- Locate the ‘Clearpay Gateway for WooCommerce’ in the plugin list and click the ‘Settings’ button.

- Navigate to the ‘Core Configuration’ section.
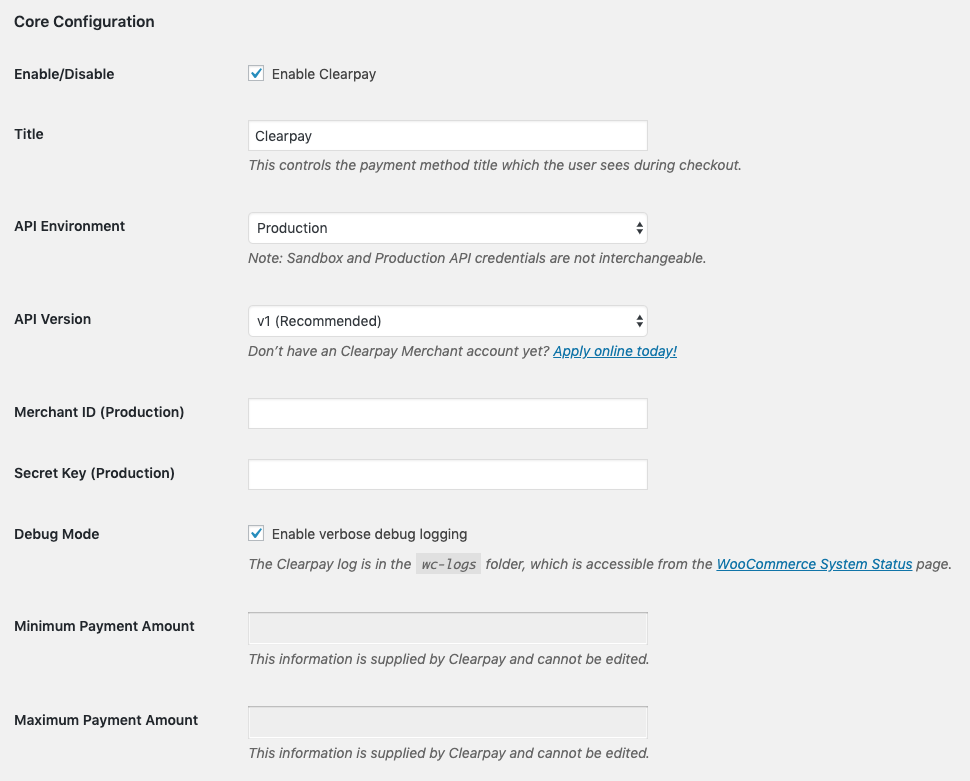
- Enter the Merchant ID provided by Clearpay into the ‘Merchant ID’ field.

- Enter the Secret Key provided by Clearpay into the ‘Secret Key’ field.

- Click the ‘Save changes’ button at the bottom of the page.
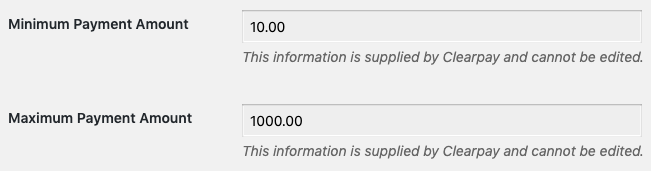
Note: Upon a successful save of the Afterpay credentials, the ‘Minimum Payment Amount’ and ‘Maximum Payment Amount’ values will be updated.
Notes
The ‘Sandbox’ API Environment is only applicable for dedicated test websites.
Advise your Clearpay Account Manager should test credentials be required.