Configure Extension
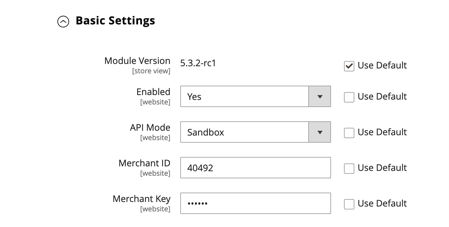
Basic Settings
-
Login to Adobe Commerce Admin and go to Stores → Configuration → Sales → Payment Methods → Clearpay (scroll down).
-
Click Basic Settings.
Advanced Settings
- Click Advanced Settings
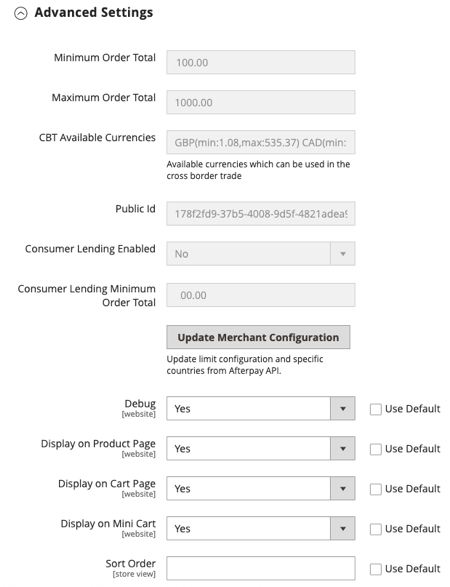
The above three settings are all read-only display fields. The information they display comes from the Clearpay API, so you cannot edit them here.
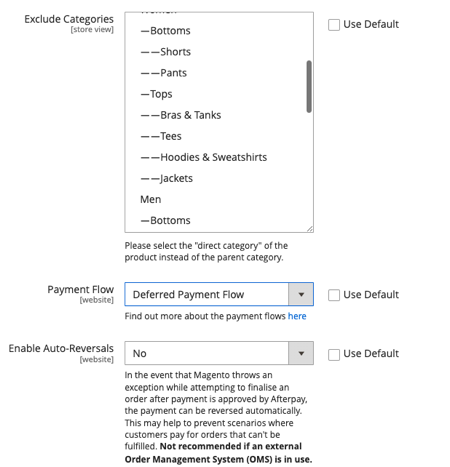
Warning
In the table above, we do not recommend the use of the Auto-Reversals feature if you use an external Order Management System (OMS).
Advanced Frontend Settings
Use these settings for custom-built themes on your website. The default of these settings is NO (disabled), which means your pages display in the default Adobe Commerce Luma theme, or similar.
These custom-built themes are not dependent on Knockout.js, which is the default frontend framework included with Adobe Commerce. If enabled, Advanced Frontend Settings allow Clearpay messaging to display on the product page, cart and mini-cart, regardless of the frontend framework used by your theme.
You, the merchant, must configure the Placement selectors and the Price selectors according to the theme you have designed and your web page type.
Note
This feature is only available for Adobe Commerce 2.4 (and above) users.
Do the following:
-
Login to Adobe Commerce Admin and go to Stores → Configuration → Sales → Payment Methods → Clearpay (scroll down).
-
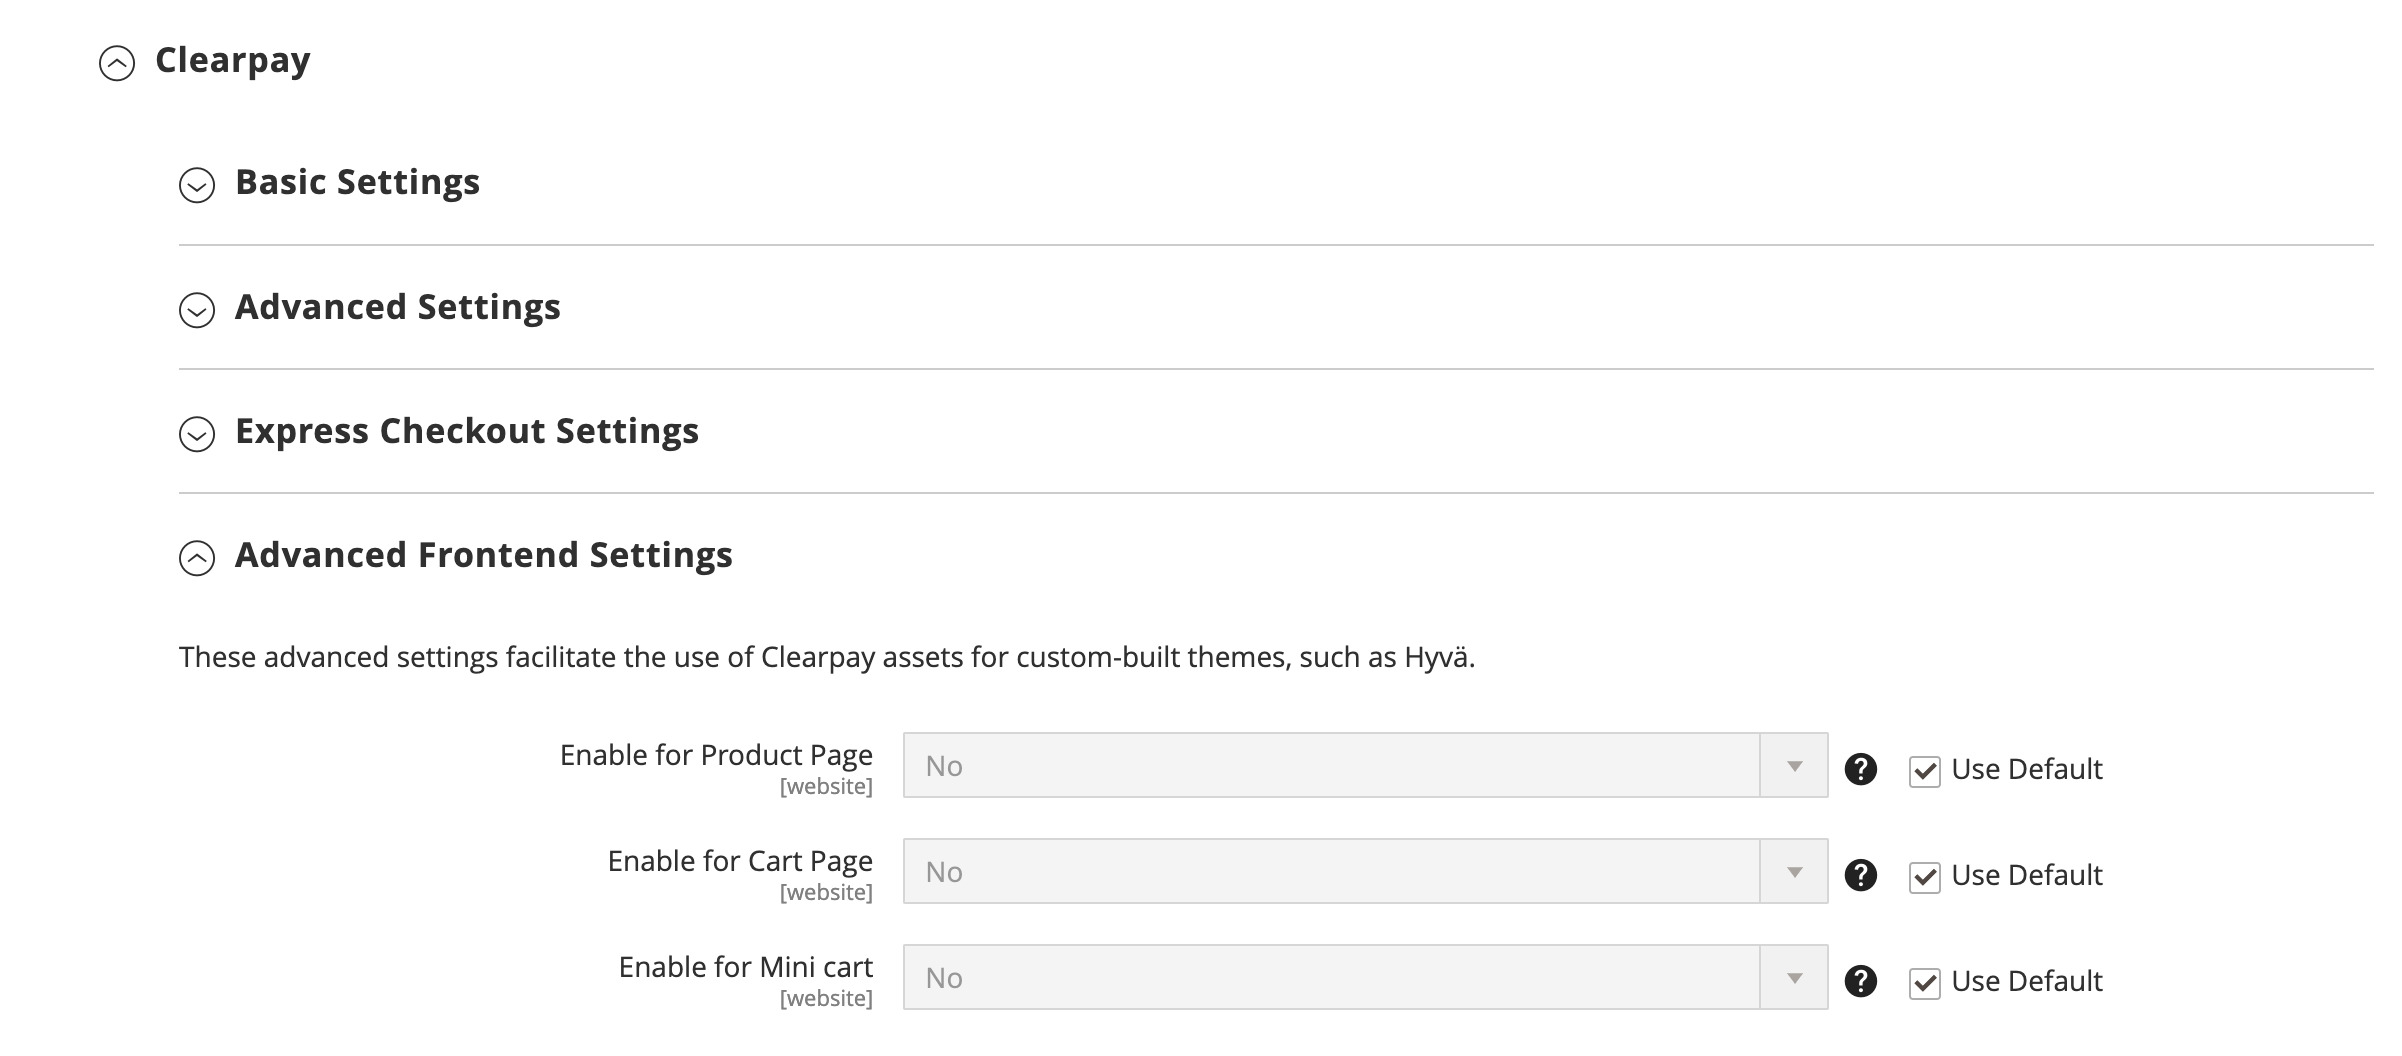
Click Advanced Frontend Settings. The advanced frontend settings fields appear, in the default setting of No, which means they are disabled. See screenshot below:
The example screen below shows the range of settings when the advanced frontend settings fields are enabled:
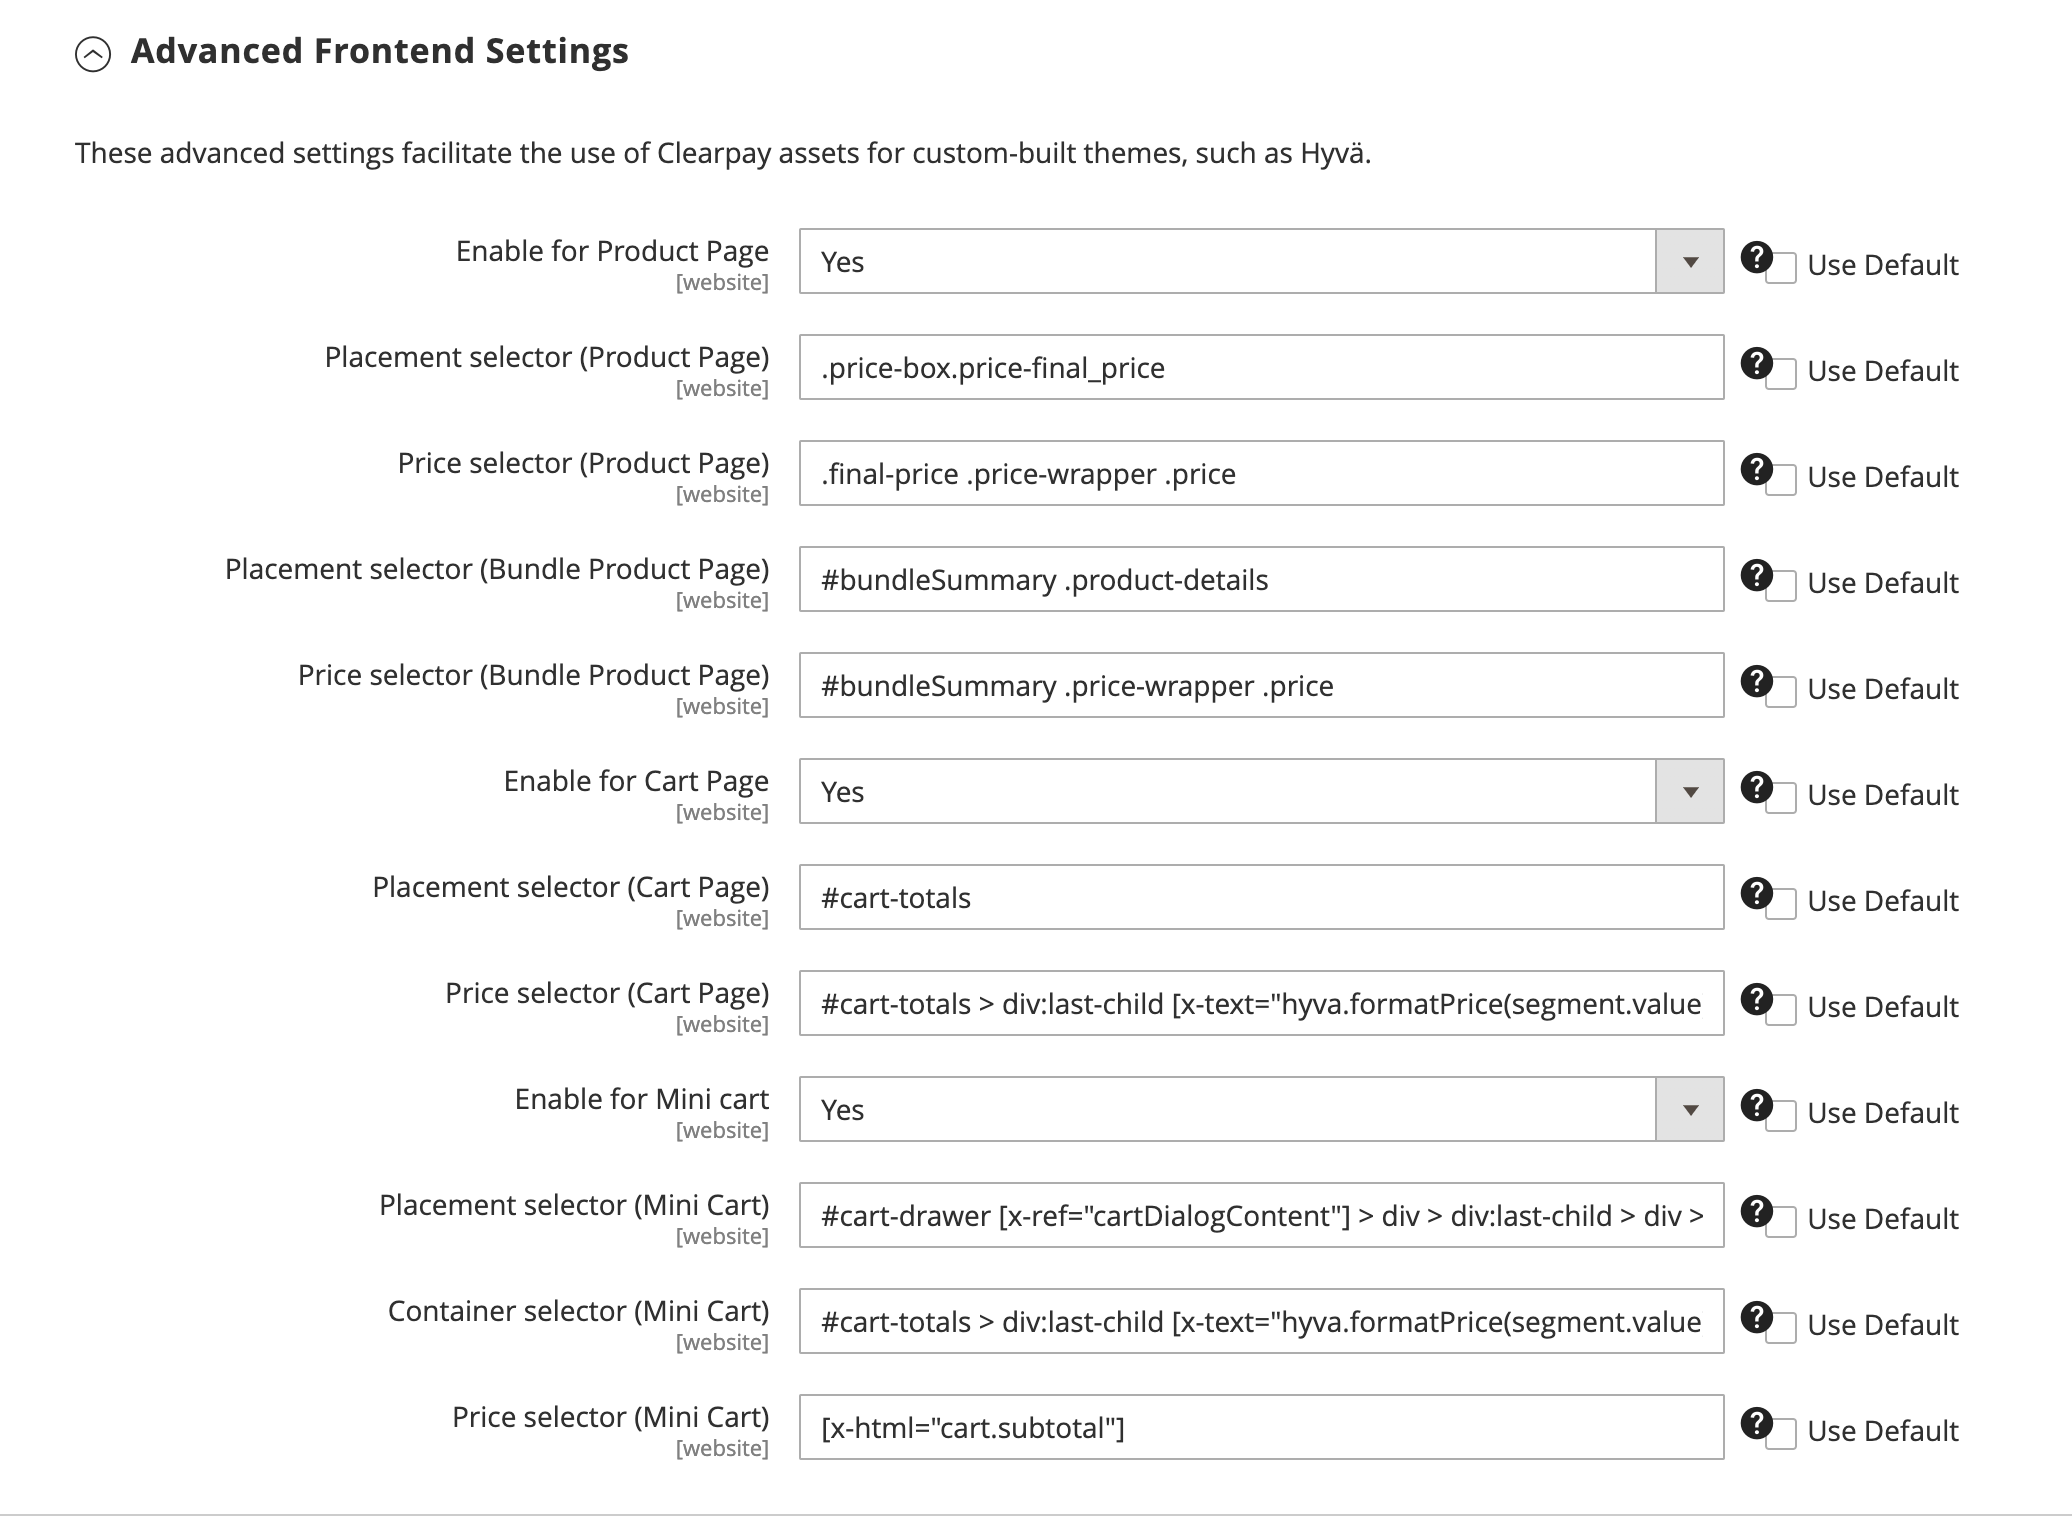
See the table below for information on the various settings.
Note
In all cases, you should place Clearpay messaging immediately below the price element in the PDP (Product Page), cart and mini cart.
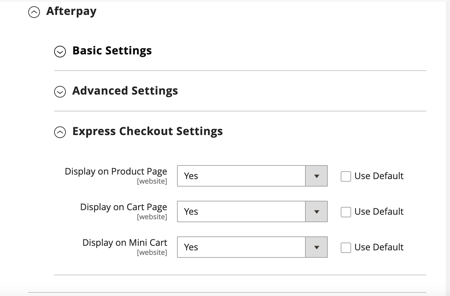
Express Checkout Settings
- Click Express Checkout Settings.